⚒️ Fusion CAM Strategy Guide — WinFusion 2025
Roughing vs Finishing Toolpaths —
CNC Mein Kya Difference Hai? ⚒️
Max Material Removal → Uniform Stock → Final Accuracy + Surface Finish
→
→
Finishing ⭐
Final Quality
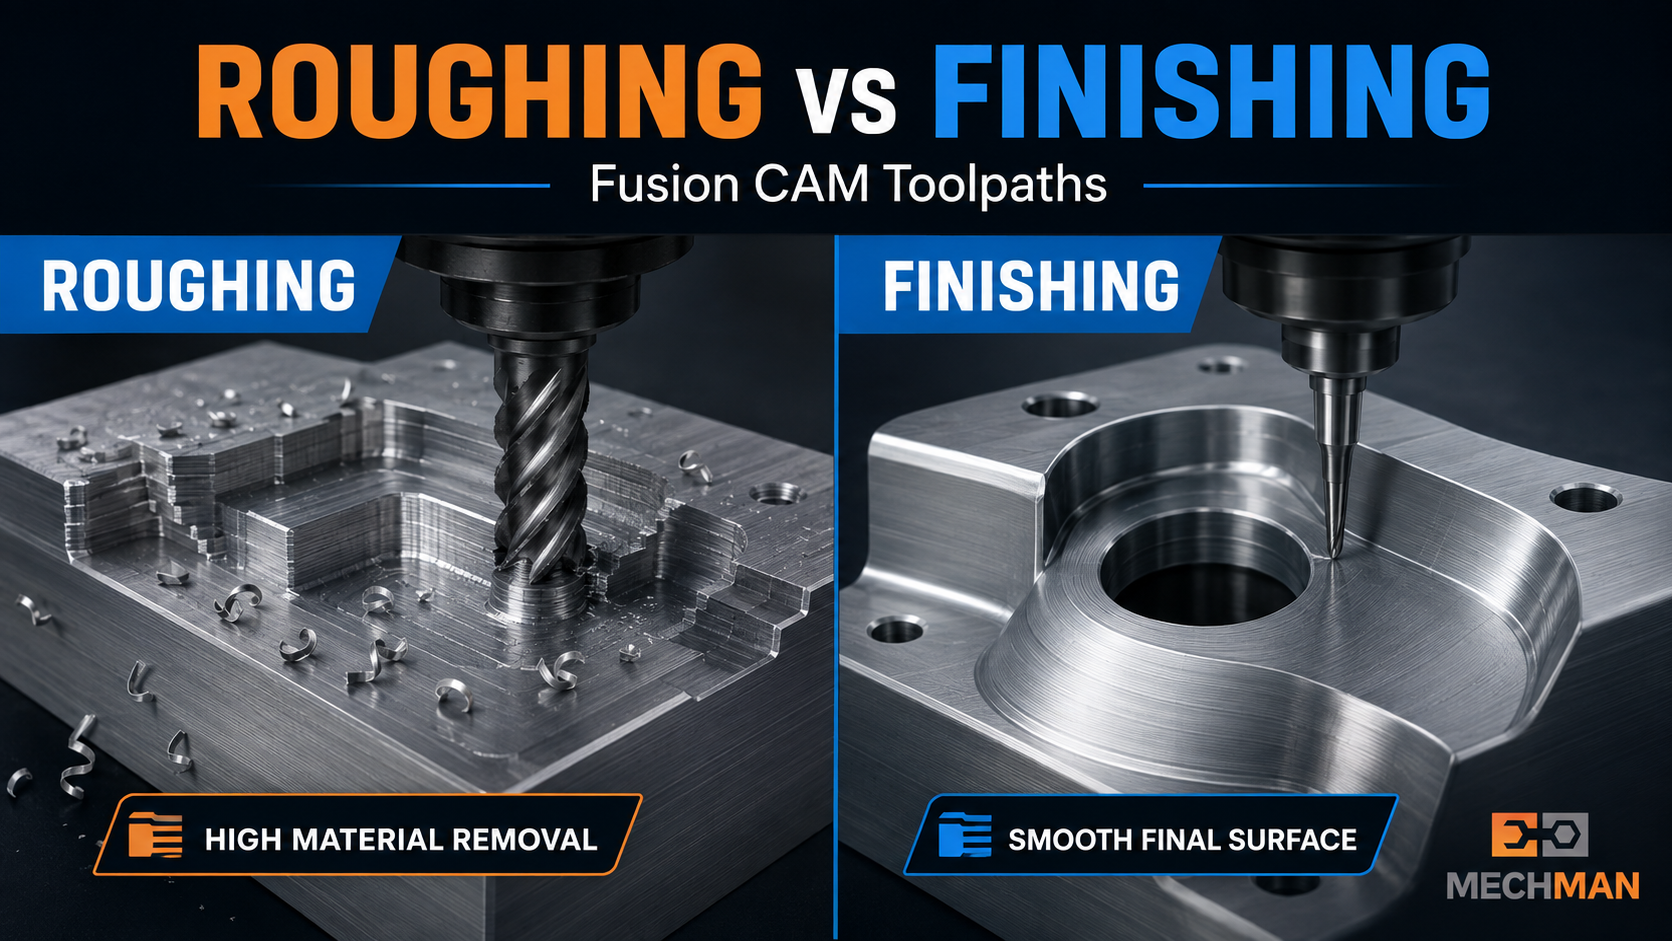
Roughing = fast material removal, Finishing = final accuracy + surface. Dono ka purpose alag — combined use karo, best results pao!
CNC machining mein accurate aur smooth component banane ke liye machining ko generally do important stages mein divide kiya jata hai:
⚒️
1. Roughing Toolpath
Maximum material quickly remove karo
✨
2. Finishing Toolpath ⭐
Final size, accuracy aur surface finish
Fusion CAM mein dono stages ke liye advanced toolpath strategies available hain. WinFusion correct strategy selection + tool library + simulation + proven post processor ke saath complete implementation deta hai!
⚒️ Roughing Toolpath — Stage 1
R
Roughing = Maximum Material Remove Karna
Speed + Material Removal Rate priority hai
Roughing machining ka first major cutting stage hai — raw material se large amount mein stock remove hoti hai:
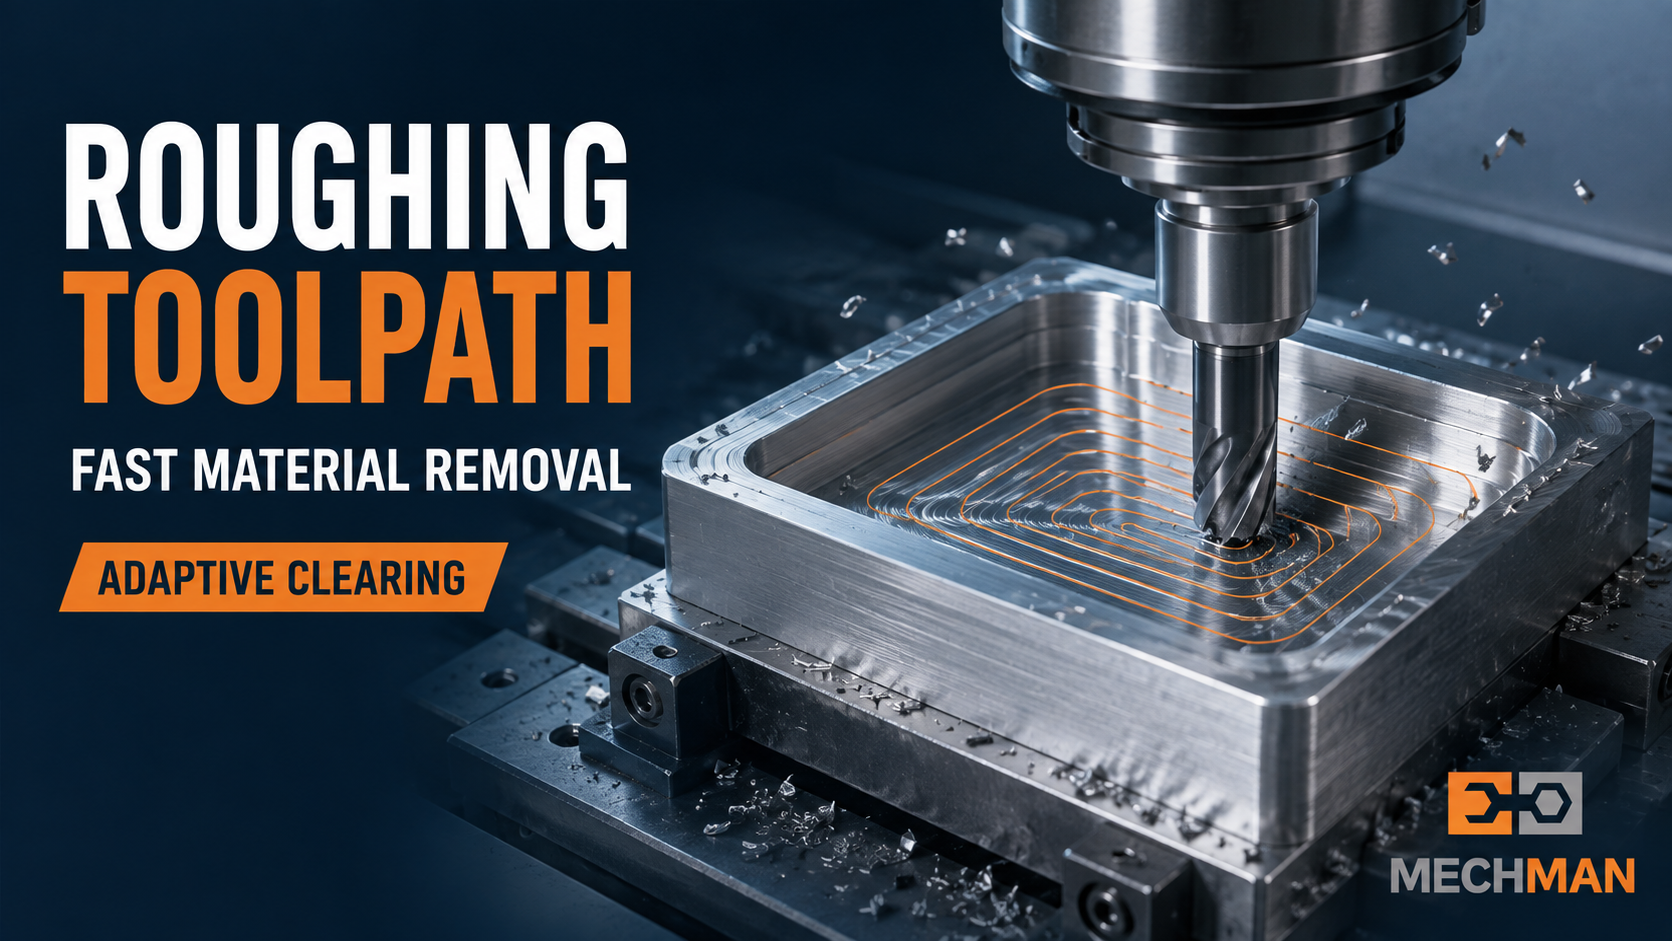
Roughing stage — fast material removal, approximate shape ready hoti hai. Final dimensions aur smooth surface abhi nahi — wo finishing mein milega!
Roughing Ka Main Focus:
- Maximum material removal
- Minimum cycle time
- Stable cutting load
- Tool life improve karna
- Uniform stock chhodna ⭐
Fusion Roughing Strategies:
2D Adaptive3D Adaptive ⭐PocketFace MillingSlotRest Machining ⭐Rotary Roughing
⚠️ Roughing ke baad component ka approximate shape ready hota hai — lekin final dimensions aur smooth surface abhi achieve nahi hoti. Finishing stage zaruri hai!
✨ Finishing Toolpath — Stage 2 (Final!) ⭐
F
Finishing = Final Quality, Accuracy + Surface
Precision + surface finish priority hai
Critical Stage!
Finishing mein roughing ke baad component par jo limited stock tha, use accurately remove kiya jata hai — lighter cuts, smaller stepover, precise parameters:
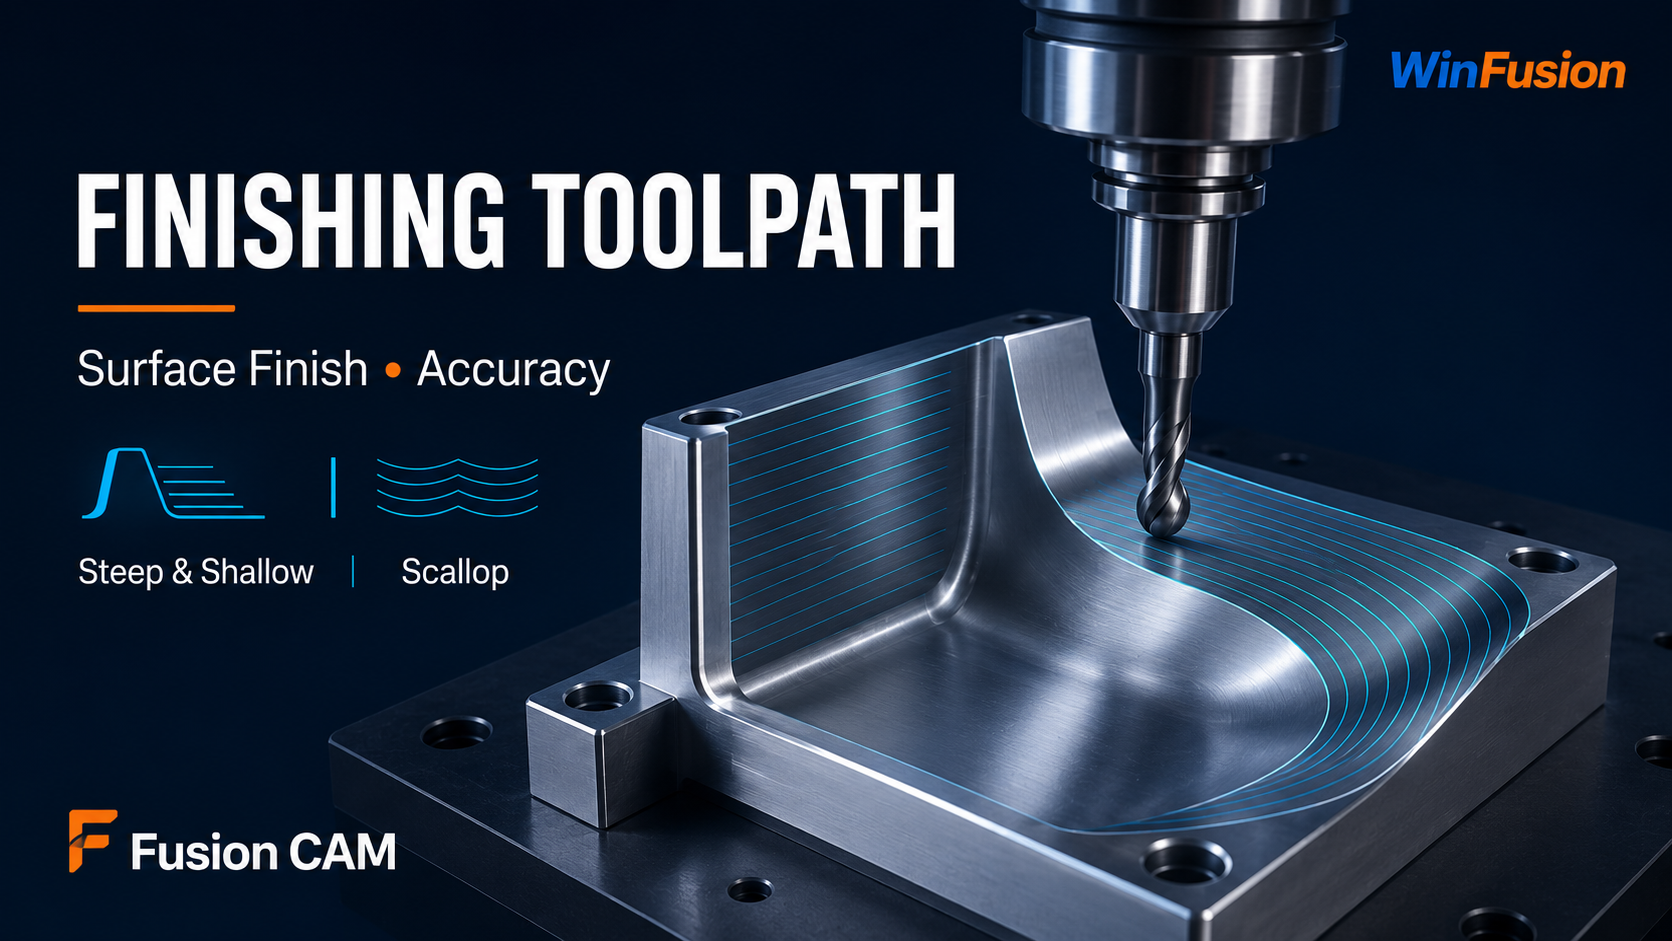
Finishing stage — lighter cuts, smaller stepover, correct tool. Final size, tight tolerance, smooth surface. Component drawing ke according ready!
Finishing Ka Main Focus:
- Final component dimensions ⭐
- Better surface finish
- Tight tolerance
- Accurate geometry
- Minimum tool marks
Fusion Finishing Strategies:
2D ContourSteep & Shallow ⭐ScallopParallel ⭐PencilFlow ⭐Multi-Axis Contour
📊 Roughing vs Finishing — Head-to-Head
| Point |
⚒️ Roughing |
✨ Finishing ⭐ |
| Main Purpose |
Maximum material removal |
Final size + finish ⭐ |
| Material Removal |
High |
Low — controlled |
| Cutting Depth |
Comparatively deeper |
Shallow ✅ |
| Stepover |
Larger |
Smaller ⭐ |
| Surface Finish |
Rough |
Smooth + Accurate ⭐ |
| Tolerance |
Final tolerance nahi |
Final drawing tolerance ✅ |
| Stock to Leave |
Finishing ke liye chhodo |
Remaining stock remove ⭐ |
| Cycle-Time Focus |
Fast stock removal |
Accuracy + quality ⭐ |
🏭 Complete Example — Aluminium Deep Pocket
Step by Step — Raw Block → Finished Component (7 Steps)
Raw material ki top surface clean → reference level prepare
Large end mill se max material remove. Wall: 0.3mm stock, Floor: 0.2mm stock leave karo
Large tool se corners mein bache material ko smaller tool se remove karo
2D Contour ya suitable 3D toolpath — walls ko final size par finish karo ✅
Horizontal ya appropriate finishing — bottom surface complete karo ✅
Tool, holder, fixture, stock, machine movement — sab verify karo ✅
Proven machine-specific post → controller-compatible NC code generate karo ✅
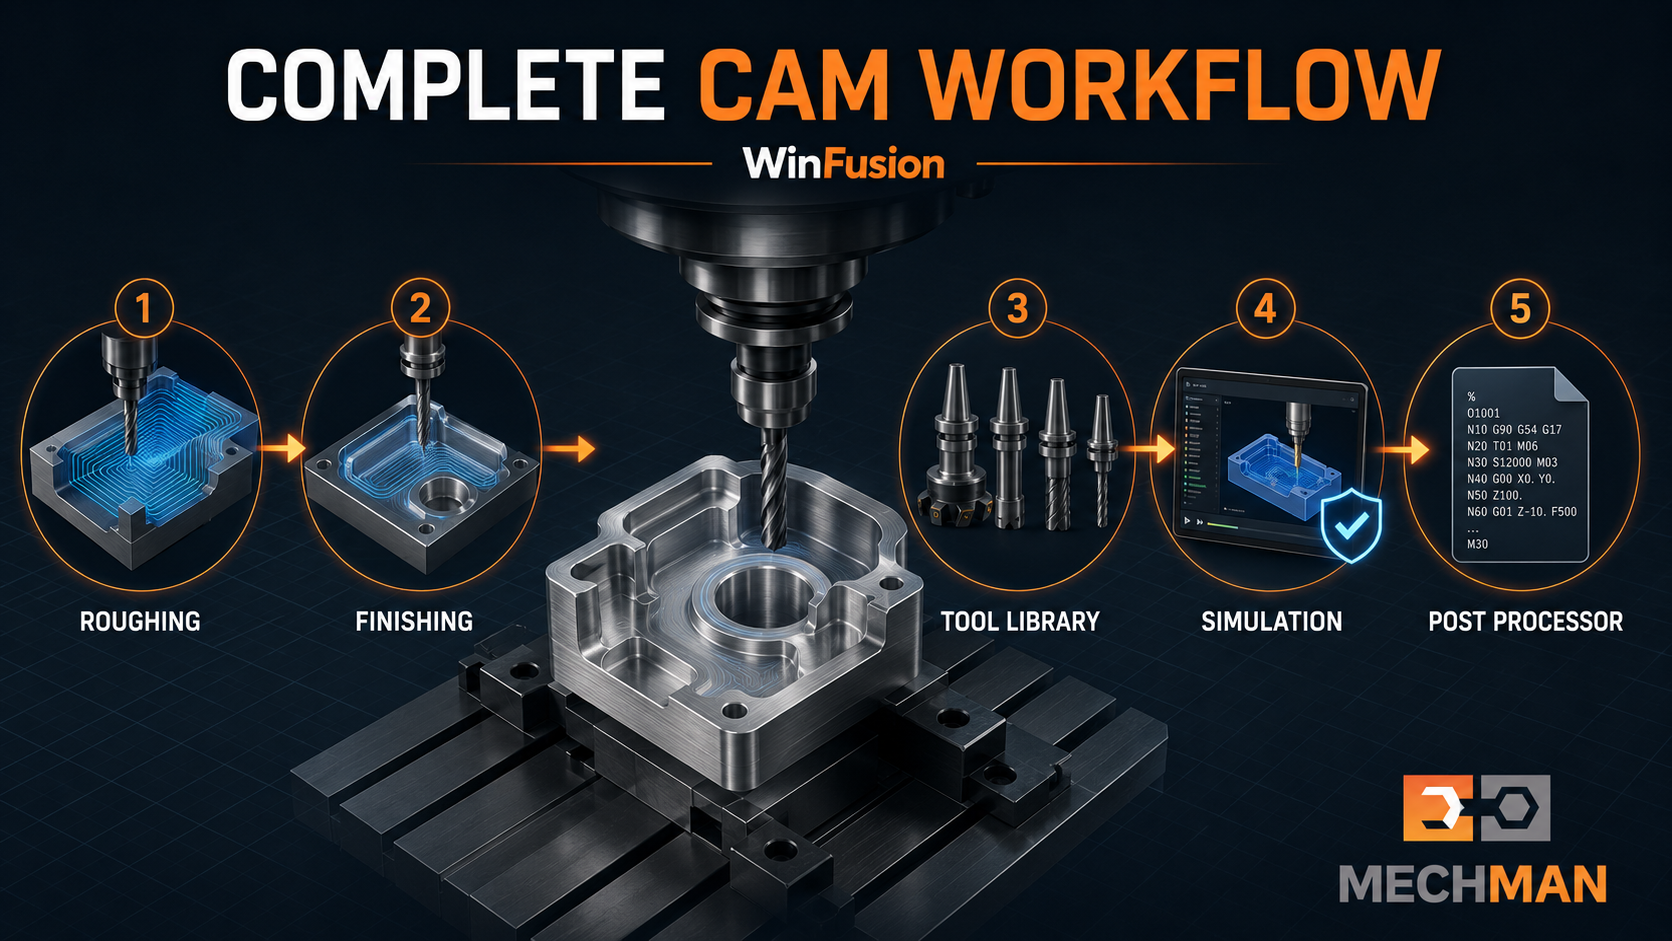
Tool library + simulation + proven post = roughing se finishing tak complete workflow. Shop-floor surprises minimum!
🔧 Roughing vs Finishing Tool Selection
Rigid + high MRR capacity:
→Flat end mill (general)
→Indexable cutter
⭐High-feed cutter
→Bull-nose end mill
→Roughing end mill
Geometry-based precision tools:
→Flat end mill (floors + walls)
⭐Ball nose (3D surfaces!)
→Bull-nose (fillets)
⭐Small end mill (corners)
→Tapered (deep features)
SF
Semi-Finishing — Middle Stage (Complex Parts Ke Liye) ⭐
Complex components mein roughing aur final finishing ke beech semi-finishing operation use kiya jata hai:
Typical workflow: Roughing → Rest Roughing → Semi-Finishing → Final Finishing — Mold/Die aur high-accuracy 3D machining mein must!
⚠️ Common CAM Programming Mistakes — Avoid Karo!
❌ 1. Stock Leave Nahi Karna
Roughing marks final surface par aayenge, tolerance affect hogi
❌ 2. Zyada Stock Finishing Mein
Finishing tool par load badhega, deflection ho sakta hai
❌ 3. Rest Machining Skip
Finishing tool suddenly heavy corner material cut karega — tool break risk!
❌ 4. Same Strategy Everywhere
Steep walls + shallow surfaces ke liye different strategies chahiye
❌ 5. Holder Check Nahi
Toolpath correct — holder fixture se collide kar sakta hai!
✅ WinFusion Solution
Machine simulation se sab verify — crashes, collisions, wrong offsets detect!
WinFusion — Complete CAM Implementation 🚀
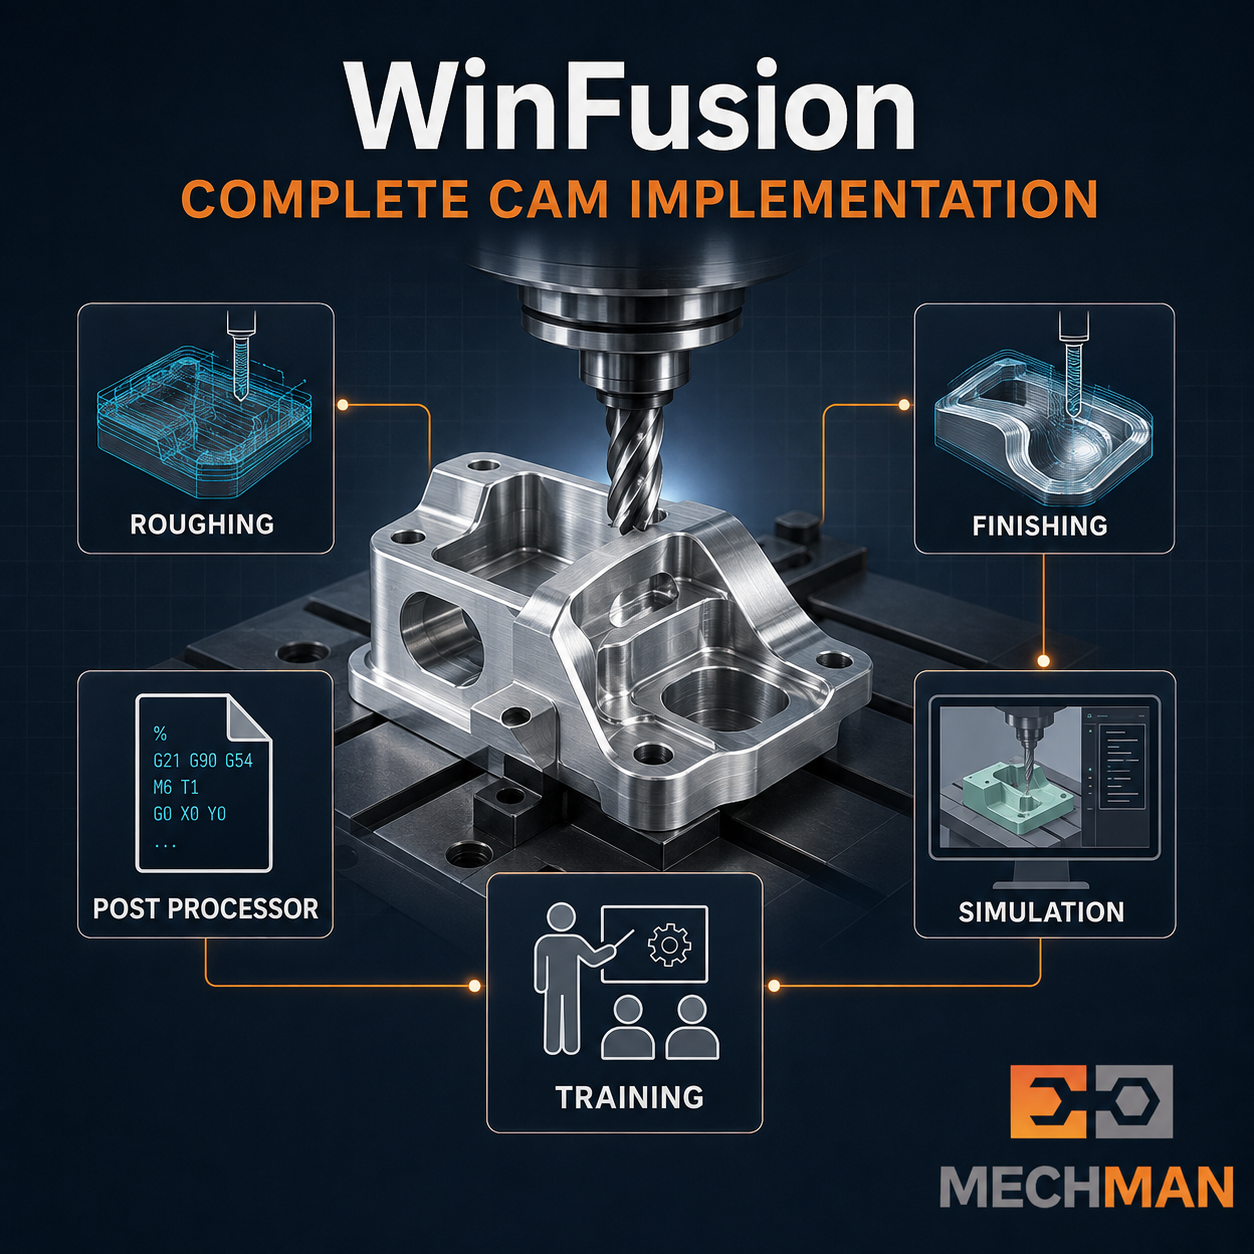
WinFusion — roughing se finishing tak complete workflow. Correct strategy + proven post + machine simulation = production-ready NC code!
✅Fusion CAM Implementation
✅Roughing + Finishing Training
✅Machine-Specific Post Processor
✅Machine Simulation + Collision Check
✅Tool + Holder Library Setup
✅3/4/5-Axis + Turn-Mill
✅Online + Onsite Training
⚡Production-Ready Workflow!
Final Conclusion 🎯
Roughing aur finishing dono toolpaths ka purpose different hai — aur best machining result tab milta hai jab dono ko proper sequence mein plan kiya jaye!
⚒️ Roughing Goal:
Safely aur efficiently material remove
✨ Finishing Goal:
Final size, tolerance + surface ⭐
Fusion CAM + WinFusion implementation = Cycle time, tool life, accuracy aur machine utilization — sab improve! ✅
⚒️
Roughing + Finishing | Fusion CAM | Post Processor | Simulation
Mechman Solutions — WinFusion
Autodesk Authorized Partner | Vadodara, Gujarat | Fusion CAM Expert | Since 2015
www.mechmansolution.com
© 2025 Mechman Solutions | WinFusion — Roughing vs Finishing Guide | Vadodara, Gujarat