If you are unfamiliar with CNC machining or digital manufacturing, one of the best tools to start with is Autodesk Fusion 360. The software combines CAD, CAM, and CAE in a single platform, thus simplifying the process for beginners to design parts and generate toolpaths. In this guide, we will cover everything you need to know in a Fusion 360 CAM tutorial for beginners, starting from setting up your workspace to the creation of your first CNC-ready toolpath.
This beginner-friendly tutorial is a good fit for students, hobbyists, or small workshop owners. It will help you grasp the basics without being too detailed, which may cause you to be overwhelmed.
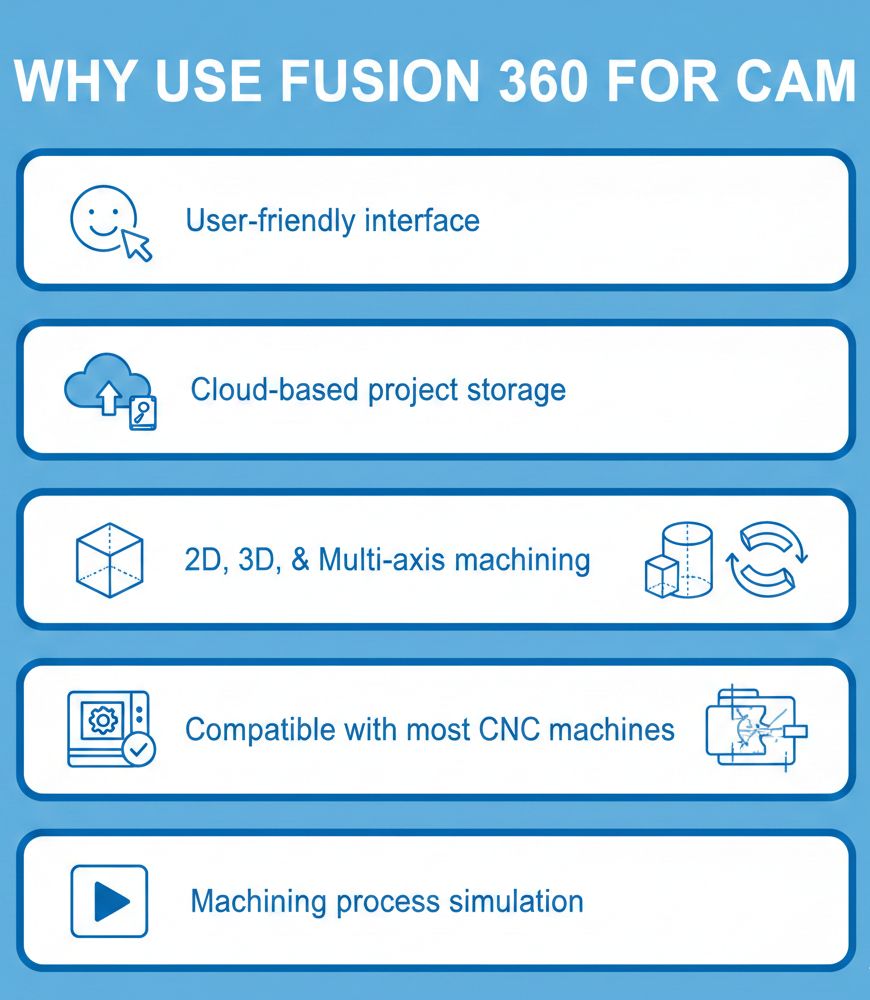
Why Use Fusion 360 for CAM
Among the reasons why Fusion 360 is generally preferred are the following:
- It has a user-friendly interface
- Provides cloud-based project storage
- Enables 2D, 3D, and multi-axis machining
- Compatible with most CNC machines
- Deliver the machining process through simulation
Step-By-Step Workflow
1. Open Fusion 360 and Start a New File
Creating toolpaths requires a good 3D model first. To get a model, you may either:
- Design a 3D model yourself, or
- Import a STEP, IGES, or STL file
After getting your model ready, change the workspace from Design to Manufacture.
2. Setting Up Your Manufacturing Workspace
The very first step of any CAM process begins with setting up:
- Job Setup
- Stock size
- Machine orientation
How to Set Up a New Job
- Head over to Setup → New Setup
- Click on your model
- Define the stock size (Relative or Fixed)
- Choose the Work Coordinate System (WCS)
Tip: Always align the Z-axis along the spindle direction of your machine.
3. Choosing Tools for Machining
With Fusion 360, the tooling library is available right inside the software. Besides, you can make a new tool for your CNC if you’d like.
Common Tool Types
- Flat End Mill
- Ball End Mill
- Bull/Nose End Mill
- Drill Bits
How to Insert a Tool
Navigate to Tool Library → My Tools → New Mill Tool and input details like diameter, flute length, and spindle speed.
4. Creating Your First Toolpath
This is where it gets really interesting with your CAM process. An excellent Fusion 360 CAM tutorial always stresses the point of learning different toolpaths.
Essential Toolpath Types for First-Time Users
✔ 2D Adaptive Clearing
- Quickly removes the bulk material
- Works great for aluminum and steel
- Lowers tool load
✔ 2D Contour
- Used for finishing walls and outer shapes
- Very simple and clean toolpath
✔ 3D Adaptive
- Helps with complex curved features
How to Create a Toolpath
- Select a tool
- Choose cutting boundaries
- Set heights and passes
- Create the toolpath
Fusion 360 will figure out the moves on its own.
5. Simulating the Toolpath
It’s a must to simulate what you’re going to do on the CNC from the code before actually doing it.
Simulation Steps
- Press Simulate from the toolbar
- Enable Stock View
- Watch for crashes, collisions, or overcuts
- Change speeds/feeds if you want
This step is able to save materials, time, and tools.
6. Post Processing to Generate G-Code
After the verification of your toolpath:
- Select Post Process
- Choose the post-processor of your CNC machine
- Download the G-code
Fusion 360 can work with the following: GRBL, Fanuc, Haas, Mach3, PathPilot, etc.
Pro Tips for Beginners
- Start with easy materials like MDF or acrylic
- Follow the tool manufacturer’s recommended feeds and speeds
- Keep your stepdowns small for better accuracy
- Always go through the simulation process after every toolpath change
- Make sure that your workpiece is secured firmly at all times
If you follow the steps presented in this Fusion 360 CAM tutorial, you will not take long to create the toolpaths that are clean and efficient with confidence.
Basic Reference Guide
| Step | Activity | Reason |
|---|---|---|
| 1 | Setup | Establishes stock and WCS |
| 2 | Tool Selection | Identifies a tool for the cutting process |
| 3 | Toolpath Creation | Develops CNC-compatible motion |
Conclusion
It is not necessary to go through complex steps to master the basics of CAM; the process is significantly simplified by Fusion 360. By using this step-by-step tutorial for beginners, you will gain the knowledge of how to set up a job, select tools, create toolpaths, simulate operations, and save proper G-code for your CNC machine.
Eventually, you will get quicker, more confident, and be able to handle more complicated machining methods with the help of practice. Fusion 360, in any case, is equipped with all the essentials you need to convert your digital designs into accurate physical parts, whether you are a hobbyist or creating a professional workflow.
FAQs
1. Is Fusion 360 appropriate for novices in CNC machining?
Indeed, Fusion 360 is one of the easiest to use CAM software packages available; it has an intuitive user interface in addition to comprehensive instructional videos to teach users.
2. Will I require a high-end computer to run Fusion 360 CAM software?
A mid-range computer will work adequately with the software because CAM procedures are generally considered moderate workloads unless creating large 3D models.
3. Can users export G-code from Fusion 360 for any machine?
Hundreds of post-processors are available in Fusion 360. Custom post-processors may be downloaded for utilisation as required.
📞 +91 99137 89065
Also Read: How Autodesk Fusion 360 is Transforming Product Design for SMEs in Gujarat