✨ Parallel Finishing Guide — WinFusion 2025
Parallel Finishing — WinFusion CAM Mein
Smooth 3D Surface Ka Master! ✨
Ball Nose Cutter | Stepover | Machining Angle | Scallop Height | Mould & Die
Stepover = Surface Quality Decision:
Large Stepover
Fast ⚡ but marks!
Correct ⭐
Balanced quality!
Small Stepover
Best finish! ✅
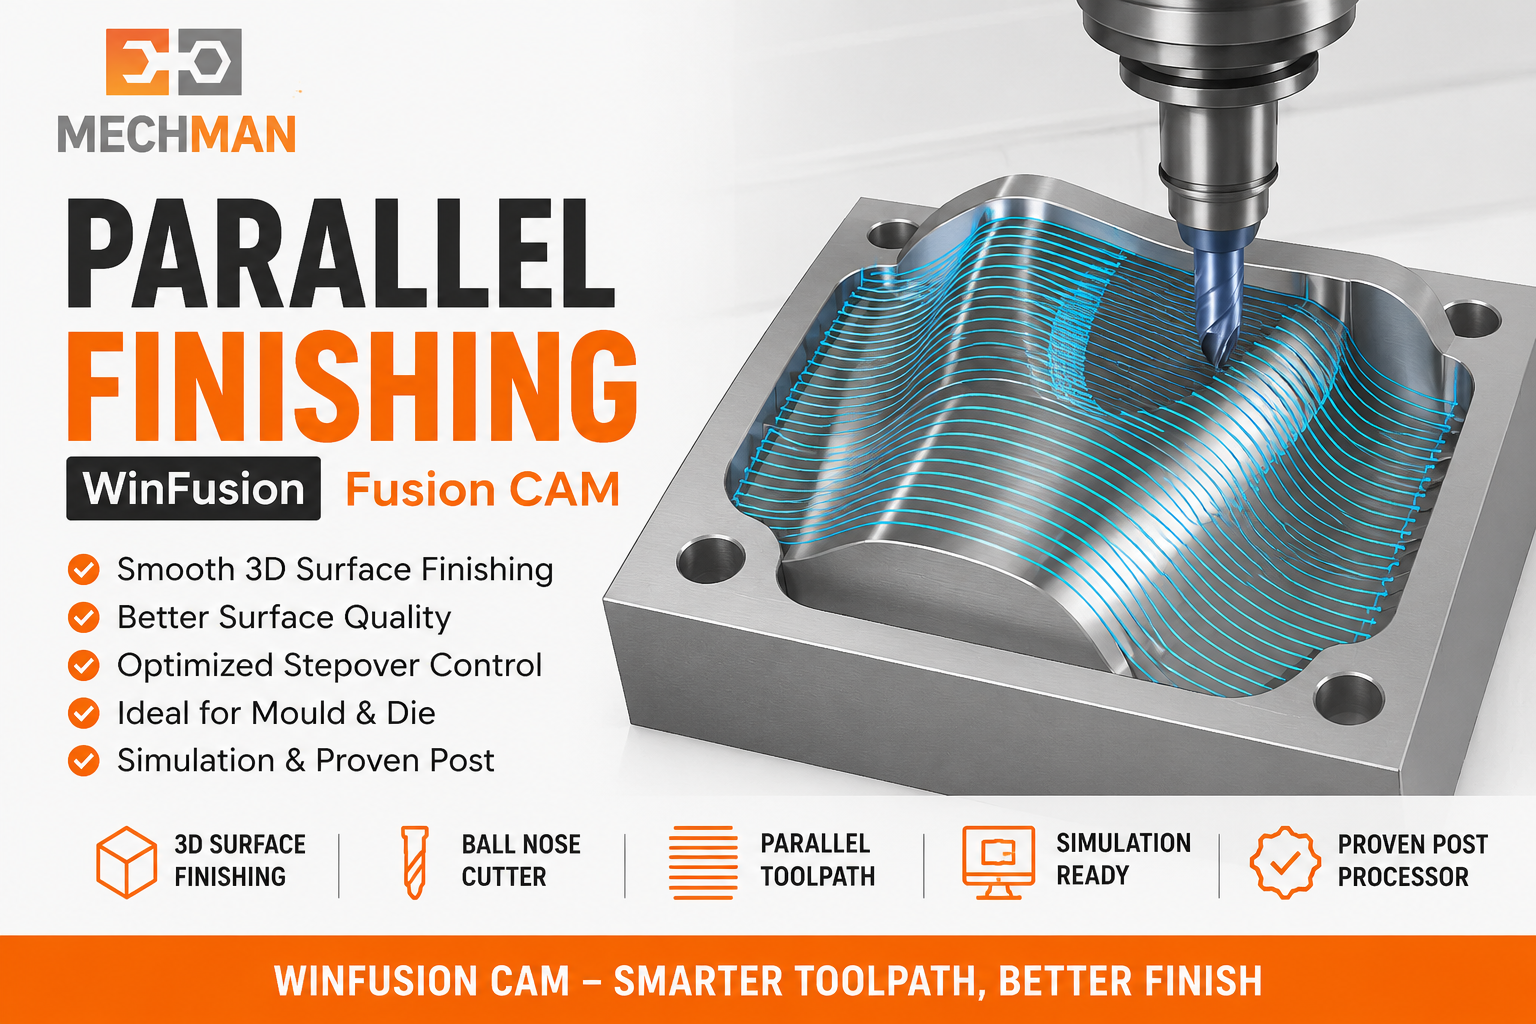
Parallel Finishing — mould, die, curved surface, cavity, core aur complex 3D components ki finishing ke liye powerful toolpath. WinFusion mein closely spaced parallel passes se smooth aur consistent surface finish milti hai!
Parallel Finishing ek bahut useful 3D finishing toolpath hai jo mould, die, curved surface, cavity aur complex components ke liye use hota hai. WinFusion CAM mein Parallel Finishing se programmer ek fixed direction mein closely spaced passes generate karta hai — surface finish smooth, consistent aur predictable milti hai!
Ye toolpath specially tab useful hai jab part par 3D curved surfaces ho aur final finishing mein minimum cutter marks ke saath better surface quality chahiye!
WinFusion Workflow: 3D Model → Tool Selection → Parallel Toolpath → Stepover Setting → Simulation → NC Code! ✅
✨ Parallel Finishing Kaise Kaam Karta Hai?
Cutter ek selected direction mein parallel lines follow karta hai — angle change karo, strategy change hoti hai!
0°
X Direction
Horizontal passes
45°
Diagonal
Often best surface!
90°
Y Direction ⭐
Vertical passes
Simulation se programmer decide karta hai — kaunsa angle better finishing + shorter cycle dega! ✅
📏 Stepover — Surface Finish Ka Sabse Critical Parameter!
📏
Stepover = Pass-to-Pass Distance — Surface Quality Decide Karta Hai!
Ball Nose cutter ke saath stepover = scallop height control
Fast machining
Visible cutter marks ⚠️
Balanced time
Good surface ✅
Longer time
Excellent finish ⭐
WinFusion mein machining time aur surface quality ke beech proper balance maintain karna possible hai! ✅
⚫
Ball Nose Cutter — Parallel Finishing Ka Most Used Tool! ⭐
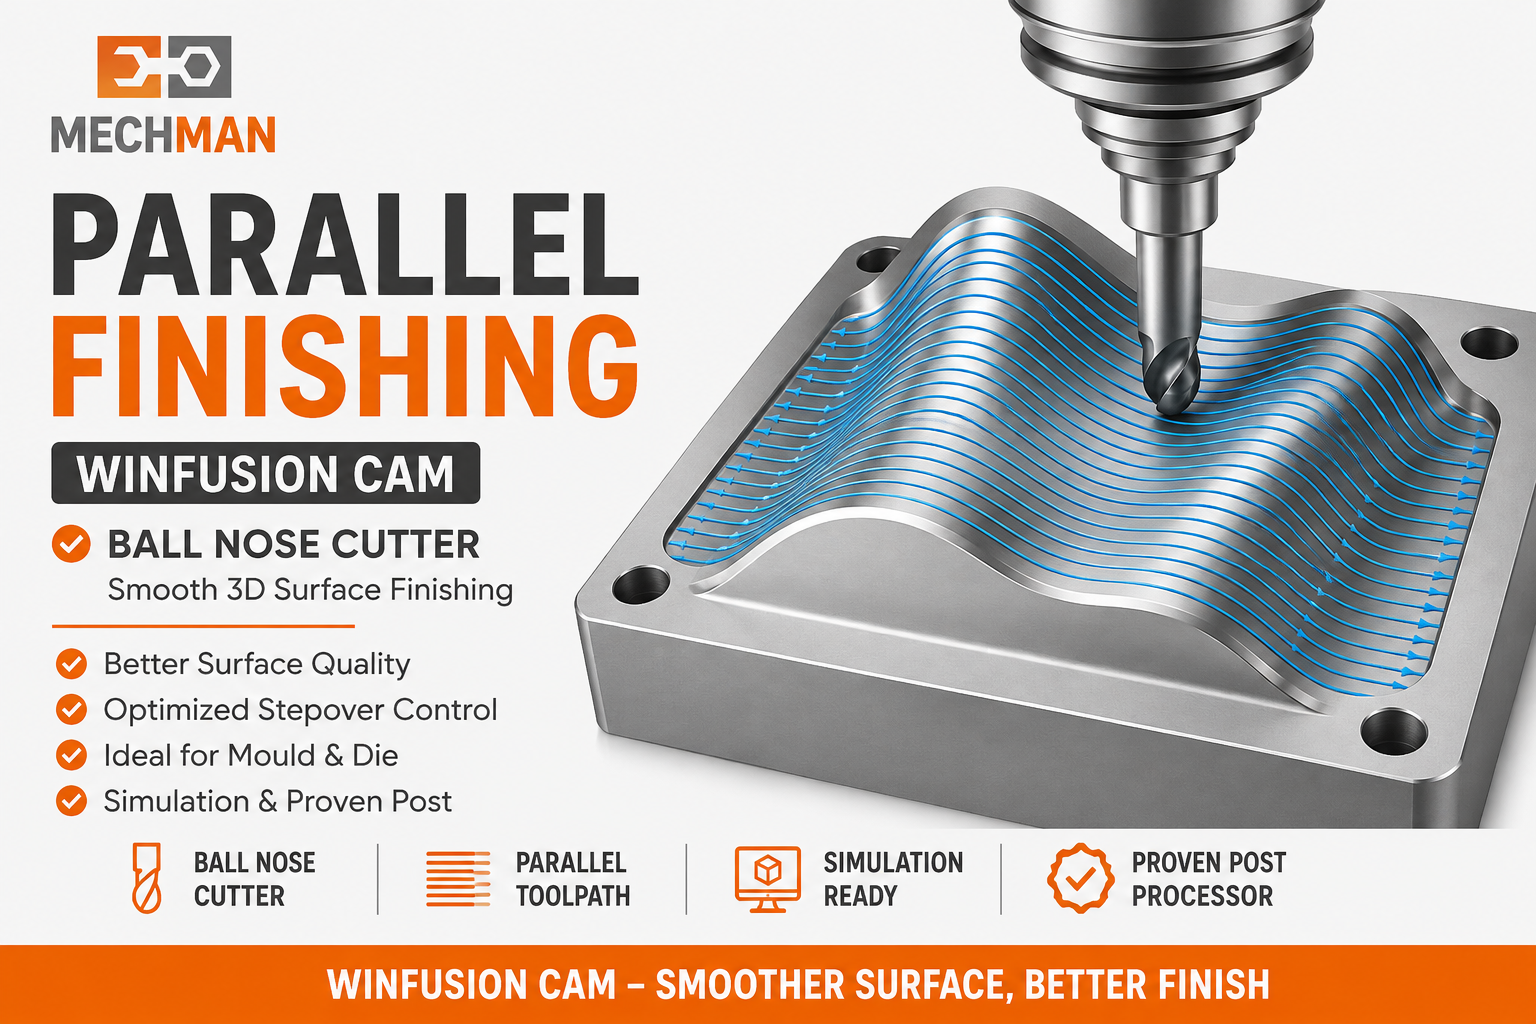
Ball Nose cutter curved surfaces ko smoothly follow karta hai. Correct diameter + stepover = excellent 3D surface finish. Die & Mould, Automotive, Aerospace — sab applications mein best!
✓Die & Mould machining ⭐
✓Injection mould cavity
✓Forging dies ⭐
✓Automotive components
✓Aerospace parts
⭐Complex 3D surfaces!
〜
Scallop Height — Control Karo! ⭐
Adjacent passes ke beech small material height = scallop!
❌ Large Stepover:
Scallop visible → Manual polishing required ⚠️
✅ Small Stepover:
Scallop minimal → Polishing reduce! ⭐
Tool Dia + Stepover + Geometry = Finish Optimize! ✅
📐
Machining Angle — Test Karo!
Har component ke liye same angle best nahi hota!
Steep surface wali direction0° try
Balanced direction45° ⭐
Shallow direction90° try
Simulation se best angle decide karo! ✅
🔄 Recommended Machining Sequence — Parallel Finishing Ka Correct Place!
Parallel Finishing directly raw material par mat use karo — proper sequence follow karo!
1
Adaptive/3D Roughing
Maximum material remove — fast + efficient
Heavy Cut
2
Rest Machining / Semi Finishing
Remaining material cleanup + surface prep
Medium
3
Parallel Finishing ⭐ — Final Step!
Ball Nose + Small Stepover + Correct Angle → Smooth surface!
Finish ✅
Finishing cutter par unnecessary load nahi → Tool life improve + Better surface quality! ✅
🗺️
Machining Boundary Control ⭐
Sirf required area finish karo — complete model nahi!
→Air cutting reduce ⭐
→Cycle time reduce
→Tool life improve
→Better control ✅
Selected area → Targeted finishing! ✅
〰️
Lead-In & Linking Moves ⭐
Surface par sudden entry = cutter marks!
❌ Direct Entry:
Entry mark on finished surface!
✅ Lead-In Arc:
Smooth entry → No marks! ⭐
Surface quality protect! ✅
🎮 Machine Simulation + Proven Post = Production Confidence!
Complex 3D finishing mein sirf toolpath generate karna enough nahi!
Always Verify!
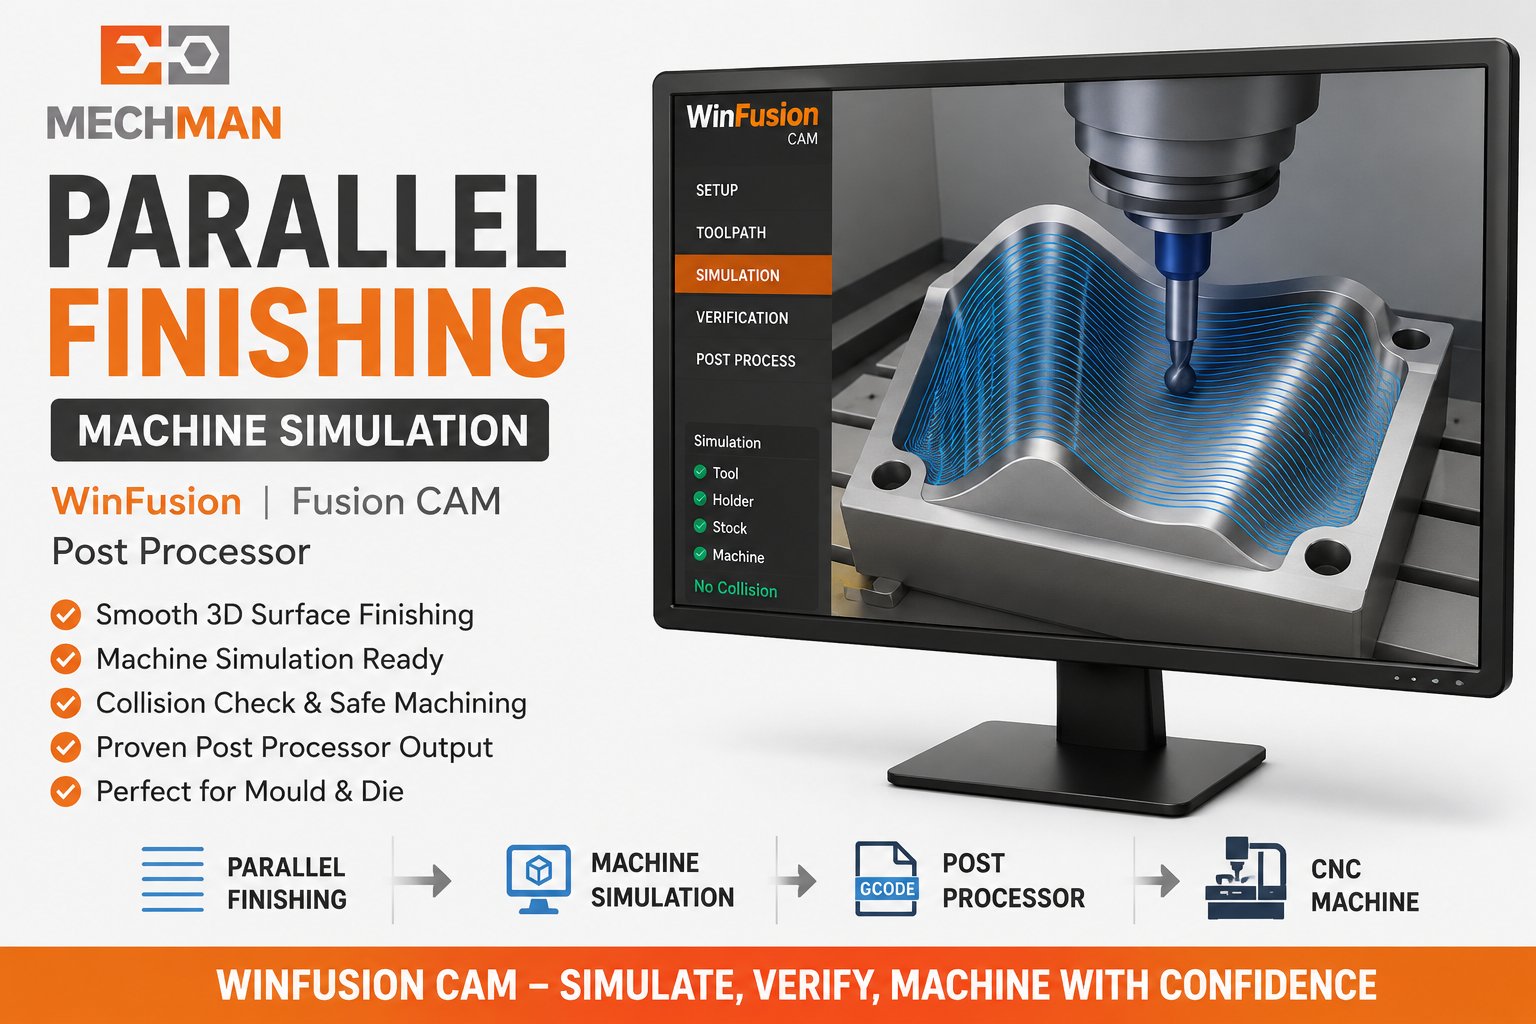
Simulation se check karo — tool collision, holder clearance, machine limits, fixture interference, tool reach, remaining stock. Expensive mould/die mein simulation = production risk drastically reduce!
Machine Simulation Checks:
- Tool collision ✓
- Holder clearance ✓
- Machine travel limit ✓
- Remaining stock ✓
Proven Post Processor:
- Machine-specific NC ⭐
- Min manual edit
- Correct format
- Production ready ✅
Complete Parallel Finishing Workflow:
Ball Nose ⭐
→
Parallel Path
→
Stepover+Angle ⭐
→
Simulation
→
NC → CNC ✅
WinFusion — Complete Parallel Finishing Workflow 🚀
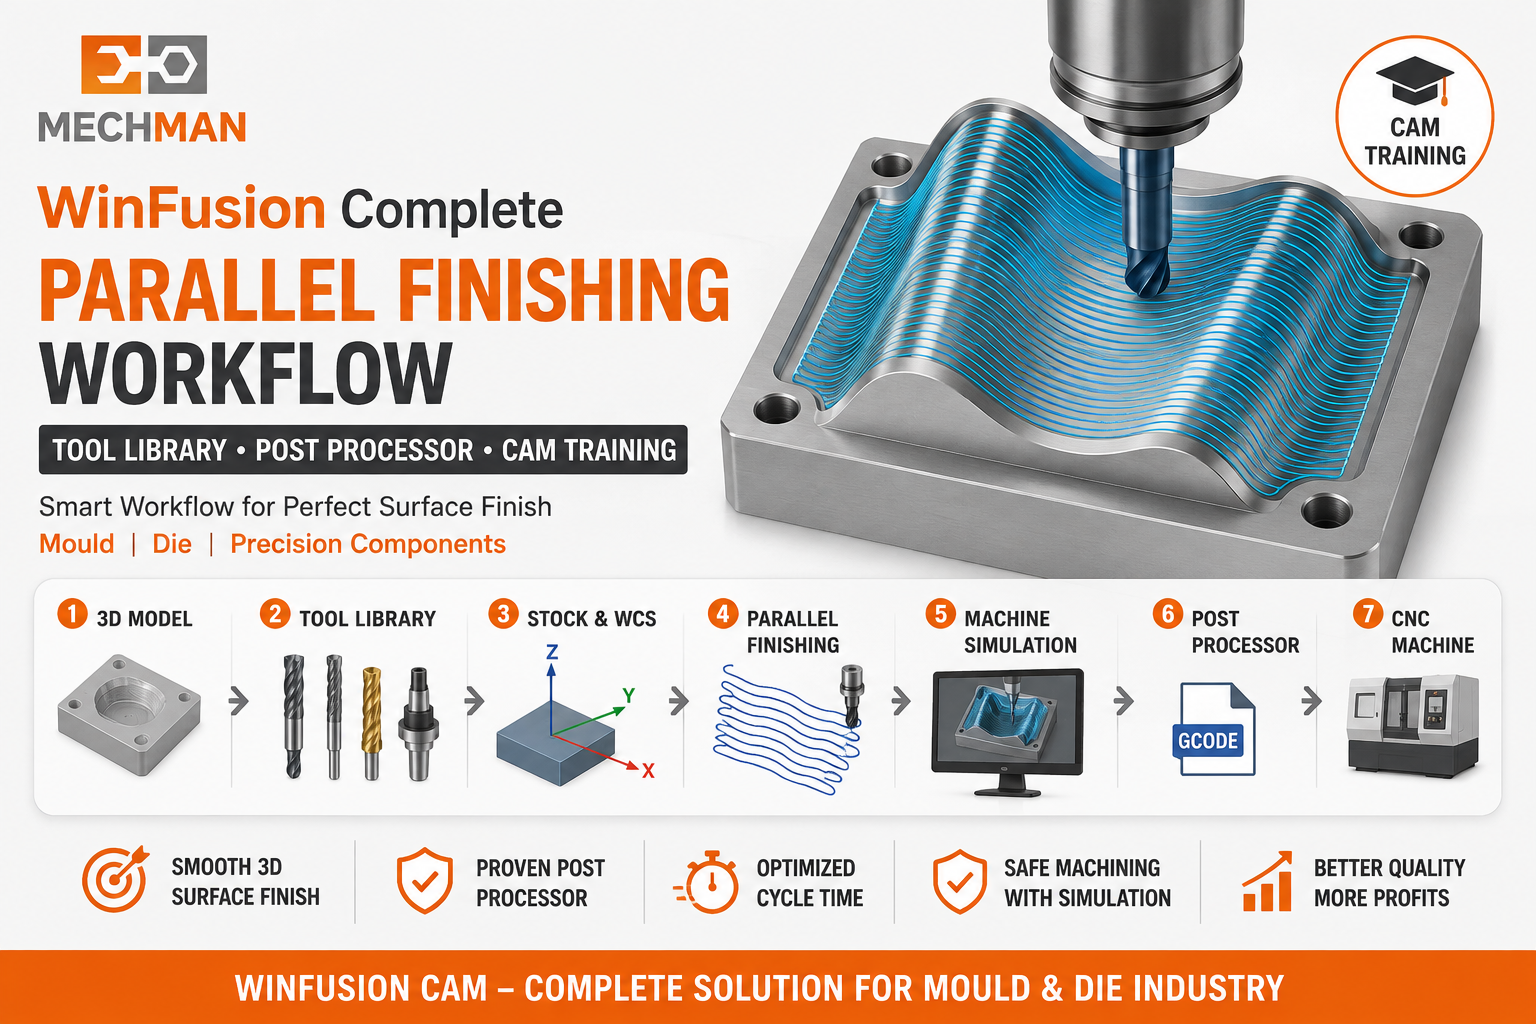
WinFusion: 3D Model → Stock → WCS → Tool Library → Roughing → Semi-Finishing → Parallel Finishing → Simulation → Proven Post → CNC Machine! Complete manufacturing workflow!
✨ WinFusion Parallel Finishing Ke Major Benefits:
✅Better Surface Finish ⭐
✅Reduced Polishing
✅Flexible Machining Direction ⭐
✅Better Tool Life
✅Reduced Cycle Time ⭐
✅Reliable NC Output
✅Machine Simulation ⭐
✨Production-Ready CNC!
✨
Parallel Finishing | Post Processor | Simulation | Training
Mechman Solutions — WinFusion
Autodesk Authorized Partner | Vadodara, Gujarat | Since 2015
www.mechmansolution.com
© 2025 Mechman Solutions | WinFusion — Parallel Finishing CAM Guide | Vadodara, Gujarat