⚠️
💥
⚠️ Tool Breakage Diagnosis — WinFusion 2025
CNC Tool Baar Baar Kyun Tootta Hai? —
7 Causes & WinFusion Se Kya Check Karein! ⚠️
Feeds & Speeds | Heavy Engagement | Chip Evacuation | Runout | Stock | Post Processor
Ek Tool Tootne Ka Real Cost:
Part Damage ⚠️
Scrap risk!
Delivery Delay
💥 Customer!
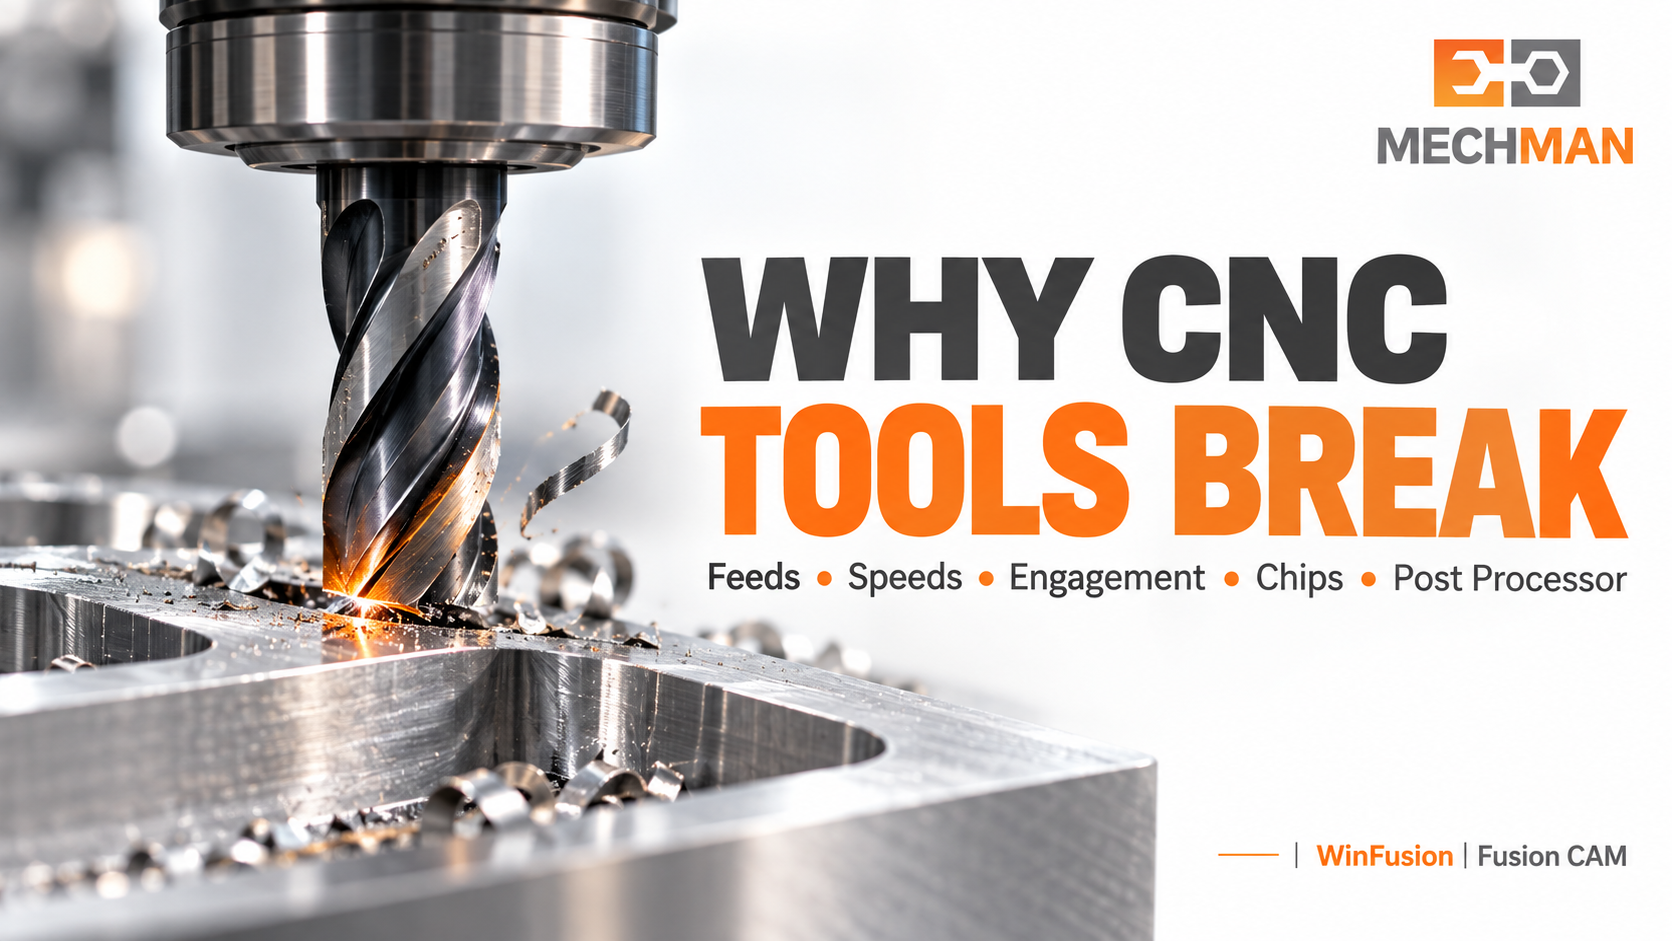
Ek tool tootne ka cost sirf naye cutter tak limited nahi hota — machine rukti hai, component damage ho sakta hai aur delivery delay hoti hai. Tool change karne se pehle root cause check karna zaroori hai!
Agar CNC tool baar baar break ho raha hai, toh sirf tool change karna long-term solution nahi hai! Root cause identify karna zaroori hai — warna same problem baar baar aayegi aur production cost badhhti rahegi. WinFusion workflow mein kuch important checks hain jo is problem ko systematically address karte hain!
“Tool tootne ka root cause identify karo — CAM toolpath, feeds/speeds, stock setup, simulation aur NC output sab check karo. WinFusion is poore process mein systematic support deta hai!” ✅
Important: CAM simulation programming aur modeled collision issues dikhane mein help karti hai — woh real machine par coolant flow, loose clamping, actual runout ya tool wear ko apne aap measure nahi karti. Physical checks bhi karo! ✅
💥 7 Common Reasons — CNC Tool Kyun Tootta Hai?
Ye 7 causes systematically check karo — ek ek identify karo aur address karo:
1
Wrong Feeds & Speeds ⭐⭐
Feed, RPM ya chip load tool aur material ke hisaab se set nahi hai — tool overloaded ho jaata hai!
WinFusion Check: Tool Library mein correct cutting data enter karo — tool geometry, feeds, speeds, chip load all defined!
2
Heavy Tool Engagement — Sudden Load Spike ⭐⭐
Corner, slot ya remaining stock mein tool ka engagement achanak badh jaata hai — tool shock load se break ho jaata hai!
WinFusion Check: Fusion CAM Adaptive Roughing → Consistent engagement! Conventional se Adaptive shift karo!
3
Poor Chip Evacuation ⭐
Chips cut mein dobara phas sakte hain — khaaskar deep pockets aur holes mein. Re-cutting = tool damage!
WinFusion Check: Toolpath mein chip clearance moves, coolant strategy aur depth-of-cut review karo!
4
Excessive Tool Stick-Out + Vibration ⭐
Long tool + weak setup = vibration → harmonic resonance → tool failure. Shorter tool possible hai?
WinFusion Check: Tool Library mein exact stick-out define karo → Simulation mein holder clearance verify karo!
5
Holder Runout / Clamping Issue ⭐
Tool sahi tarah hold nahi ho raha → uneven cutting load → one-side breakage. Physical check mandatory!
Physical Check: Dial indicator se runout check karo. WinFusion mein holder geometry define karo — simulation se clearance verify!
6
Wrong Stock / Toolpath Setup ⭐
CAM mein jitna material dikh raha hai — machine par usse zyada material ho sakta hai! Stock mismatch = surprise overload!
WinFusion Check: CAM mein accurate stock model define karo → Simulation mein material removal verify karo!
7
Post Processor / NC Output Issue ⭐⭐
Toolpath screen par sahi dikhe — phir bhi NC code, work offsets, approach movements machine par unexpectedly behave kar sakte hain!
WinFusion Check: Proven Post + Machine Simulation → NC output actual controller par verify karo! ✅
⚙️ WinFusion Workflow Mein Kya Help Milti Hai?
Tool breakage identify karne ke baad WinFusion se ye sab systematically check karo:
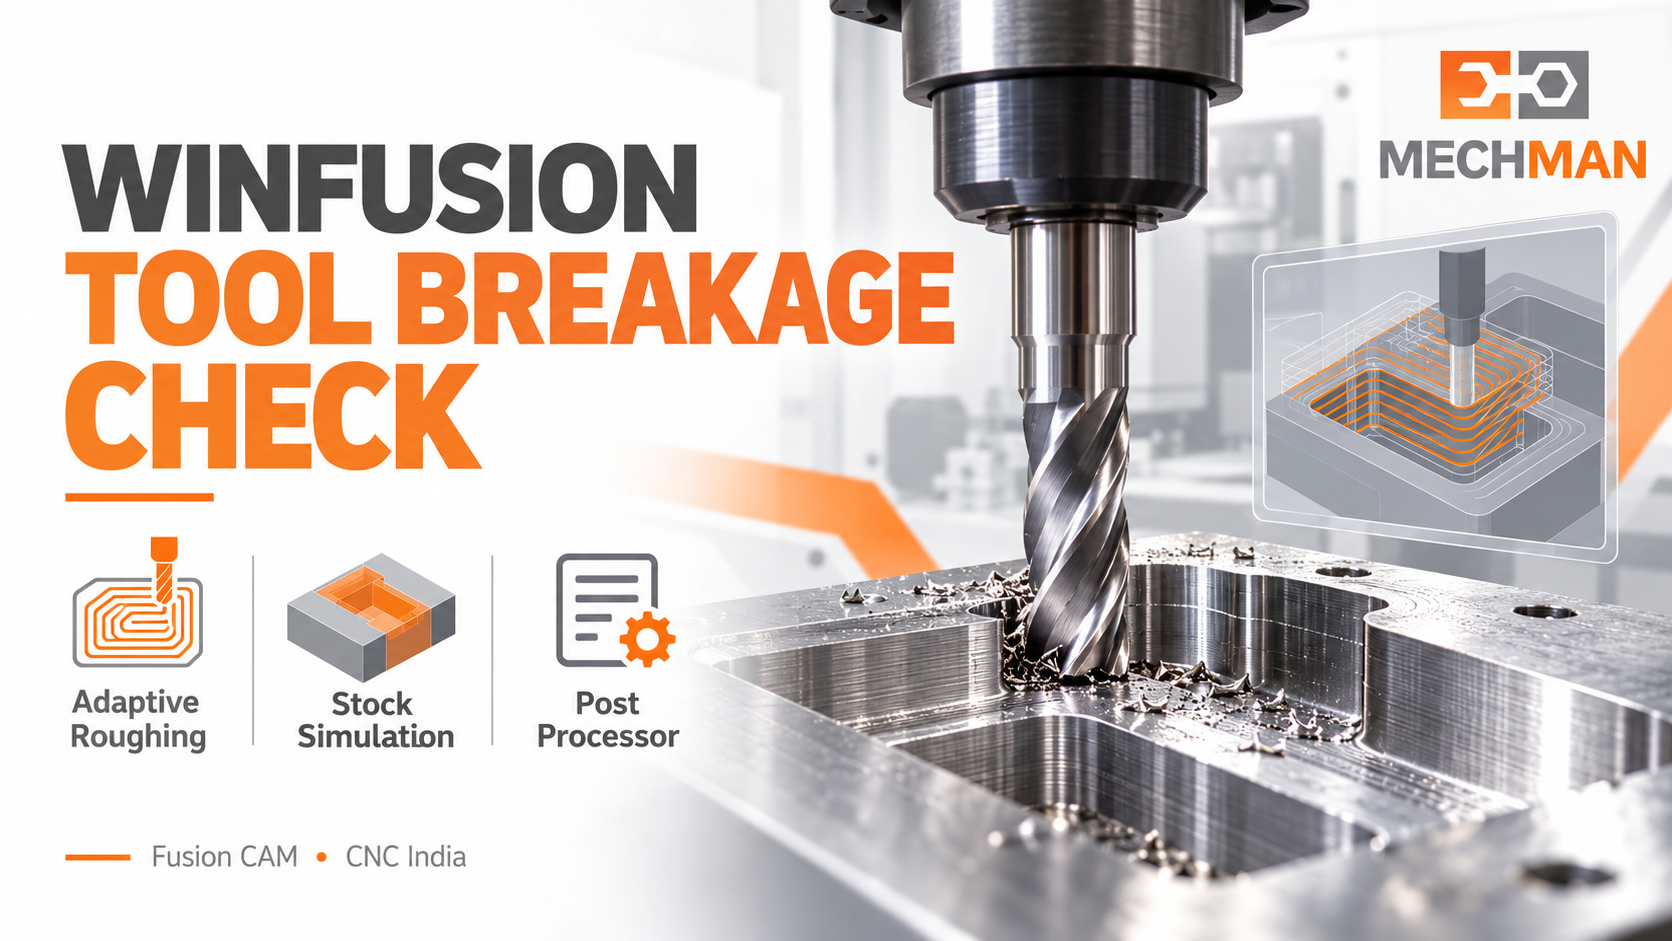
WinFusion ke saath: Tool Library setup, Adaptive Roughing strategy, accurate stock model, machine simulation aur proven post processor — ye sab tool breakage ke CAM-related causes systematically address karte hain!
🔩 Tool Library & Cutting Data ⭐
Correct tool geometry, holder, stick-out, feeds & speeds CAM setup mein record karo → Programmer har job ke liye data review kar sakta hai!
Fusion CAM Adaptive Roughing tool engagement consistent rakhta hai → Sudden load spikes ka risk kam hota hai!
🎮 Stock + Machine Simulation ⭐
Program bhejne se pehle stock removal, unexpected engagement aur modeled collisions virtually review karo!
📋 Proven Post Processor ⭐⭐
NC output actual machine + controller par prove karo. 4-axis, 5-axis, Turn-Mill mein especially critical!
⚠️ Important Reality Check:
CAM simulation programming aur modeled collision issues dikhane mein help karti hai. Woh real machine par coolant flow, loose clamping, actual runout ya tool wear ko apne aap measure nahi karti. Physical checks bhi equally important hain!
📋 Aaj Kya Check Karein — Step by Step!
Tool exactly kis point par break hota hai — pehle identify karo!
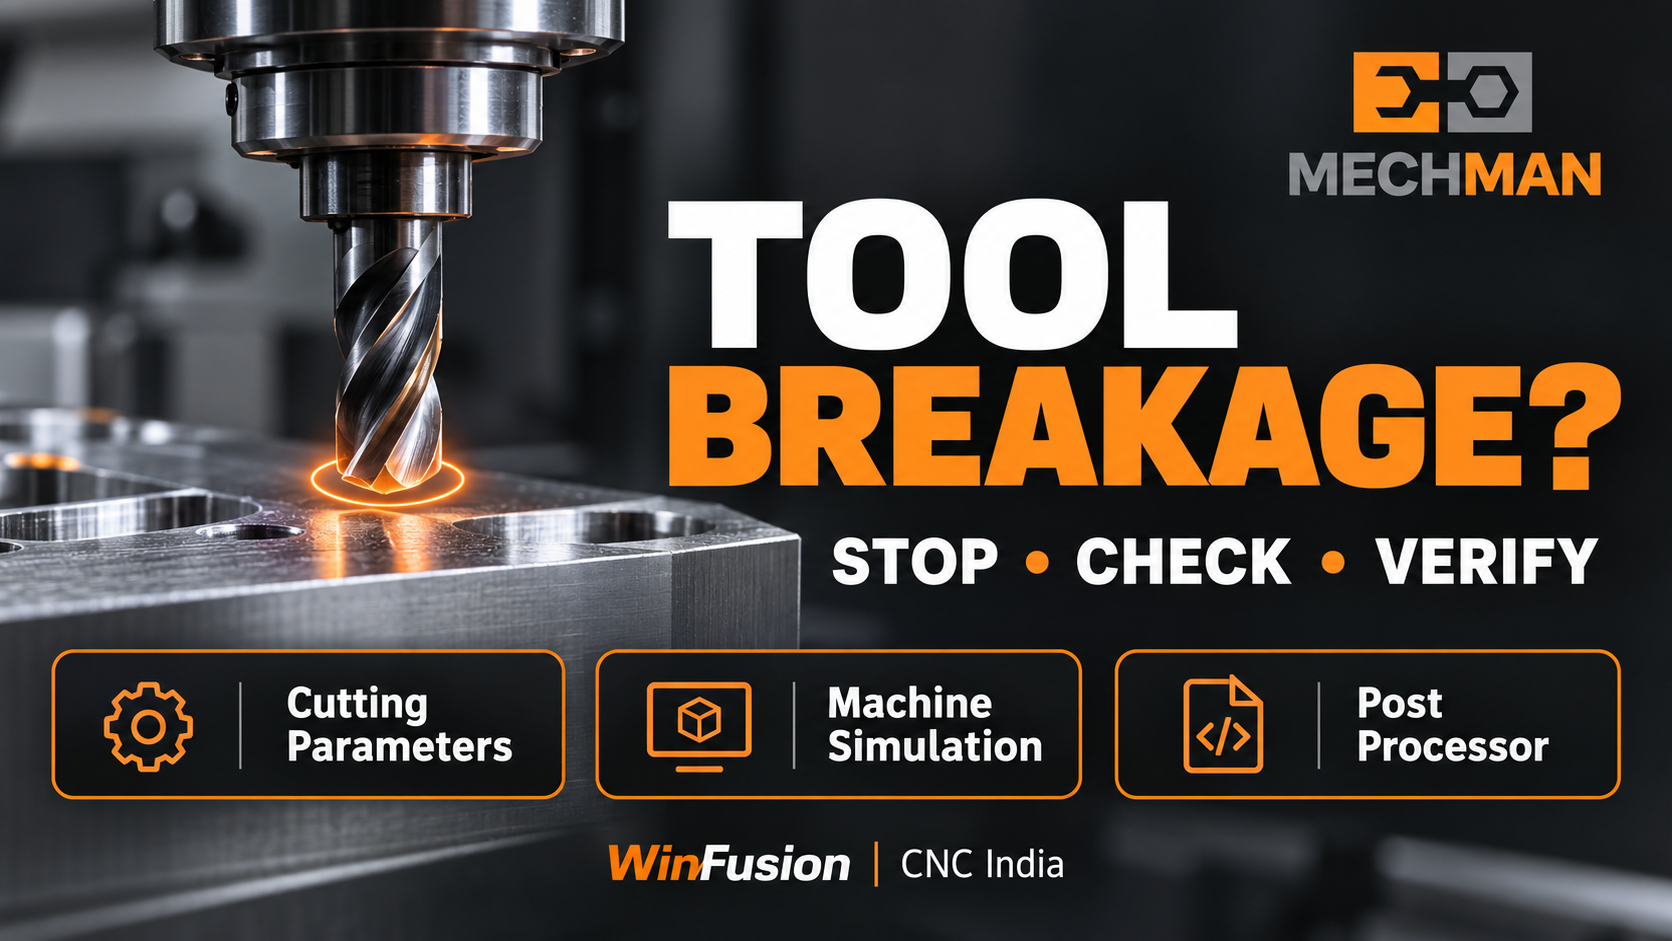 Breakage ka exact point identify karo: Entry mein, corner mein, deep cut mein ya retract ke waqt? Phir systematic check karo — physical first, CAM second!
🔴 Physical Checks (First):
- Actual stock size verify ⭐
- Tool wear / condition check
- Holder runout (dial indicator) ⭐
- Coolant flow + chip evacuation
- Fixture / clamping secure?
🟡 CAM Checks (Second):
- Feeds/speeds review ⭐
- Stock model accurate? ⭐
- Toolpath engagement
- Simulation verify
- Posted NC program ✅
WinFusion — Tool Breakage Se Systematic Relief:
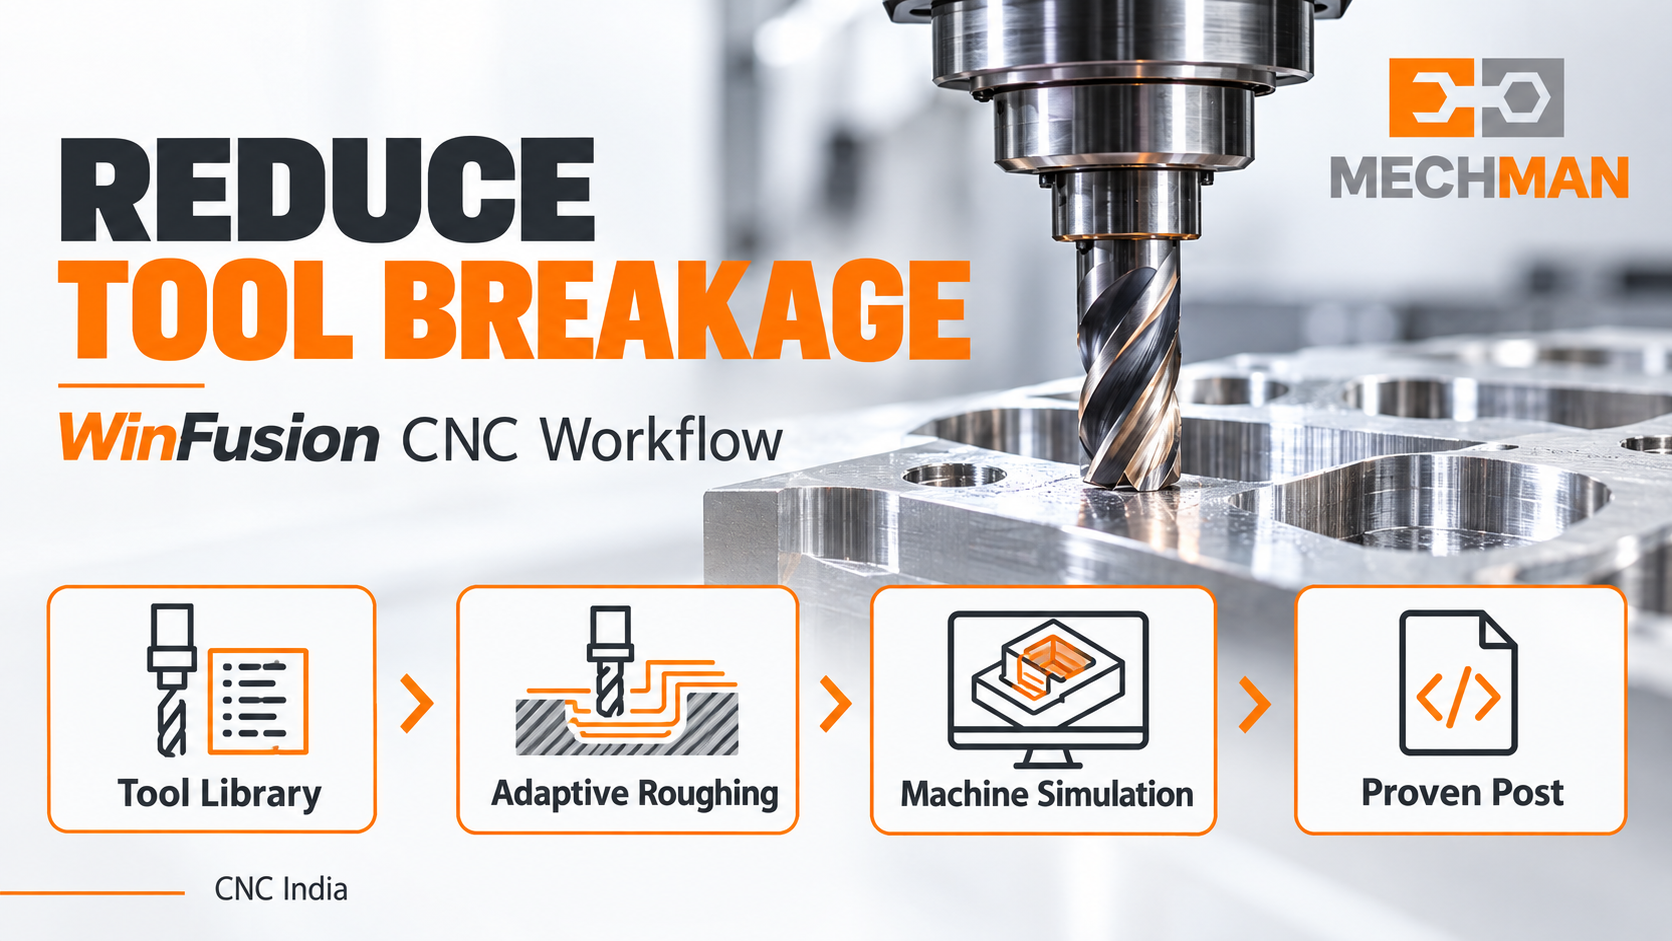
WinFusion: Correct Tool Library → Adaptive Roughing → Accurate Stock Model → Machine Simulation → Proven Post Processor → NC output verify karo. CAM-related tool breakage causes systematically address ho jaate hain!
Tool Library ⭐
→
Adaptive Roughing ⭐
→
Stock + Sim ⭐
→
Proven Post ⭐⭐
→
Less Breakage ✅
Tool Breakage — Systematic Diagnosis Karo! ⚠️
Sirf naya tool daalna solution nahi hai — 7 causes systematically check karo aur root cause identify karo! Physical checks + WinFusion CAM checks = complete diagnosis!
WinFusion: Tool Library + Adaptive Roughing + Simulation + Proven Post = Systematic Tool Breakage Prevention! ⚠️🚀
⚠️
Tool Breakage | CAM Setup | Post Processor | Simulation
Apna machine model, controller, material, tool details aur breakage point share karein!
Mechman Solutions — WinFusion
Autodesk Authorized Partner | Vadodara, Gujarat | Since 2015
www.mechmansolution.com
© 2025 Mechman Solutions | WinFusion — CNC Tool Breakage Causes & Checks | Vadodara, Gujarat